A good pair of safety shoes costs between AED 100 and AED 300 for reliable, standard industrial quality. Most workers get only 6 to 12 months out of them. With 12 simple habits, you can easily double that lifespan, save hundreds of dollars per year, and keep your foot protection at full strength. This guide tells you exactly how.
Why Your Safety Shoes Break Down Faster Than They Should
We have spent over 20 years working with industrial safety programs across manufacturing plants, construction sites, and oil & gas facilities. In that time, I have seen one thing happen over and over: workers destroy expensive safety shoes in record time — not because of hard work, but because of poor maintenance habits.
Safety shoes are not regular sneakers. They carry steel toe caps, PU midsoles, anti-static layers, and puncture-resistant plates. Each of those components needs specific care. Ignore that care, and you will spend twice as much money buying replacements — and, worse, you will risk your own foot safety because worn-out PPE does not protect you the way it should.
“Buy it cheap, buy it twice. But buy it right and care for it — and you will only need to buy it once every two years instead of twice a year.” — Common saying among industrial safety managers
12 Proven Tips to Make Your Safety Shoes Last Longer
Tip 1: Clean Your Shoes After Every Shift ( Critical)
Mud, oil, concrete dust, and industrial grime are not just cosmetic problems. They actively eat away at the materials in your safety shoes. Dirt traps moisture against leather and synthetic uppers. That trapped moisture causes cracking, peeling, and rot — fast.
How to clean them right:
- Knock off loose mud first
- Use a stiff-bristled brush to scrub away caked debris from the sole and upper
- Wipe the whole shoe with a clean cloth dipped in lukewarm water and a small amount of mild soap
- Rinse with a damp cloth
- Never soak them in water
⚠ Never do this: Do not put your safety shoes in a washing machine or dryer. The heat and mechanical agitation destroy the adhesive layers that bond the sole to the upper, and they can crack or warp the protective toe cap. Always hand-wash.
Also clean your soles after every shift. Mud and debris packed into the sole cleats kills slip resistance. A packed cleat on a wet floor is a serious fall hazard — and that matters even more than how the shoe looks.
Tip 2: Dry Your Safety Shoes the Right Way (Critical)
Drying your shoes wrong is one of the fastest ways to destroy them. Most workers make this mistake: they throw wet shoes by the radiator, in direct sunlight, or in a storage shed overnight. All three of those things cause serious damage.
The right method:
- Remove the insoles and laces
- Stuff the shoes loosely with crumpled newspaper — this absorbs moisture from the inside and helps the shoe hold its shape
- Place them in a cool, well-ventilated area
- Leave them for at least 24 hours before wearing again
Heat is the enemy: Direct heat from a radiator, hair dryer, or strong sunlight dries out leather rapidly, causing it to crack and stiffen. It also weakens the adhesive that bonds the sole, leading to early sole separation. Never use heat to speed up drying.
Pro tip: Buy a low-heat electric boot dryer. It dries shoes overnight without the damage that comes from radiators or sunlight. It is one of the best investments a regular safety shoe wearer can make.
Sweaty feet cause moisture buildup from the inside too. If your insoles feel wet when you take the shoes off, replace the newspaper plugs twice during the drying process. A fully dry shoe before the next shift protects both the shoe materials and your feet from fungal infections.
Tip 3: Condition Leather Uppers Regularly (Important)
Leather is a natural material. It needs oil and moisture to stay flexible and strong. When leather dries out, it becomes brittle. It cracks at the flex points — usually across the toe box and at the ankle crease. Once leather cracks deeply, no amount of conditioning will reverse that damage.
What to use: Apply a leather conditioner containing mink oil, neatsfoot oil, or beeswax every two to four weeks. Work a thin, even layer into the leather with a soft cloth. Pay extra attention to seams, the toe box, and the ankle area — these flex the most during use. Let the conditioner absorb fully, then buff with a clean dry cloth.
⚠ Test first: Some conditioners slightly darken leather. Before applying to the whole shoe, test on a hidden area like under the tongue. This is especially important with light-colored leather safety shoes.
Full-grain leather safety shoes benefit the most from conditioning. If you work in wet or chemically exposed environments, condition more often. For synthetic uppers, use a product specifically labeled for synthetic materials — mink oil is for leather only.
Tip 4: Waterproof Your Shoes Every Month (Important)
Water is the number-one enemy of safety footwear materials. Repeated wetting and drying weakens leather fibers, breaks down sole adhesives, and destroys cushioning materials faster than almost anything else on the job site.
How to do it: After cleaning and drying, apply a waterproofing spray or wax designed for your shoe’s upper material. Use spray-on DWR (durable water repellent) for Gore-Tex lined or breathable shoes — never apply heavy wax to breathable membranes, as it blocks the pores. For standard leather uppers, a paste wax or waterproofing cream works best. Apply in even strokes and let it dry completely before use.
Do this once a month as standard maintenance, and again any time you notice water soaking into the upper instead of beading off.
Remember: Waterproofing protects the upper materials. It does not make a shoe suitable for deep water or chemical exposure. Always follow your site’s PPE requirements for those hazards.
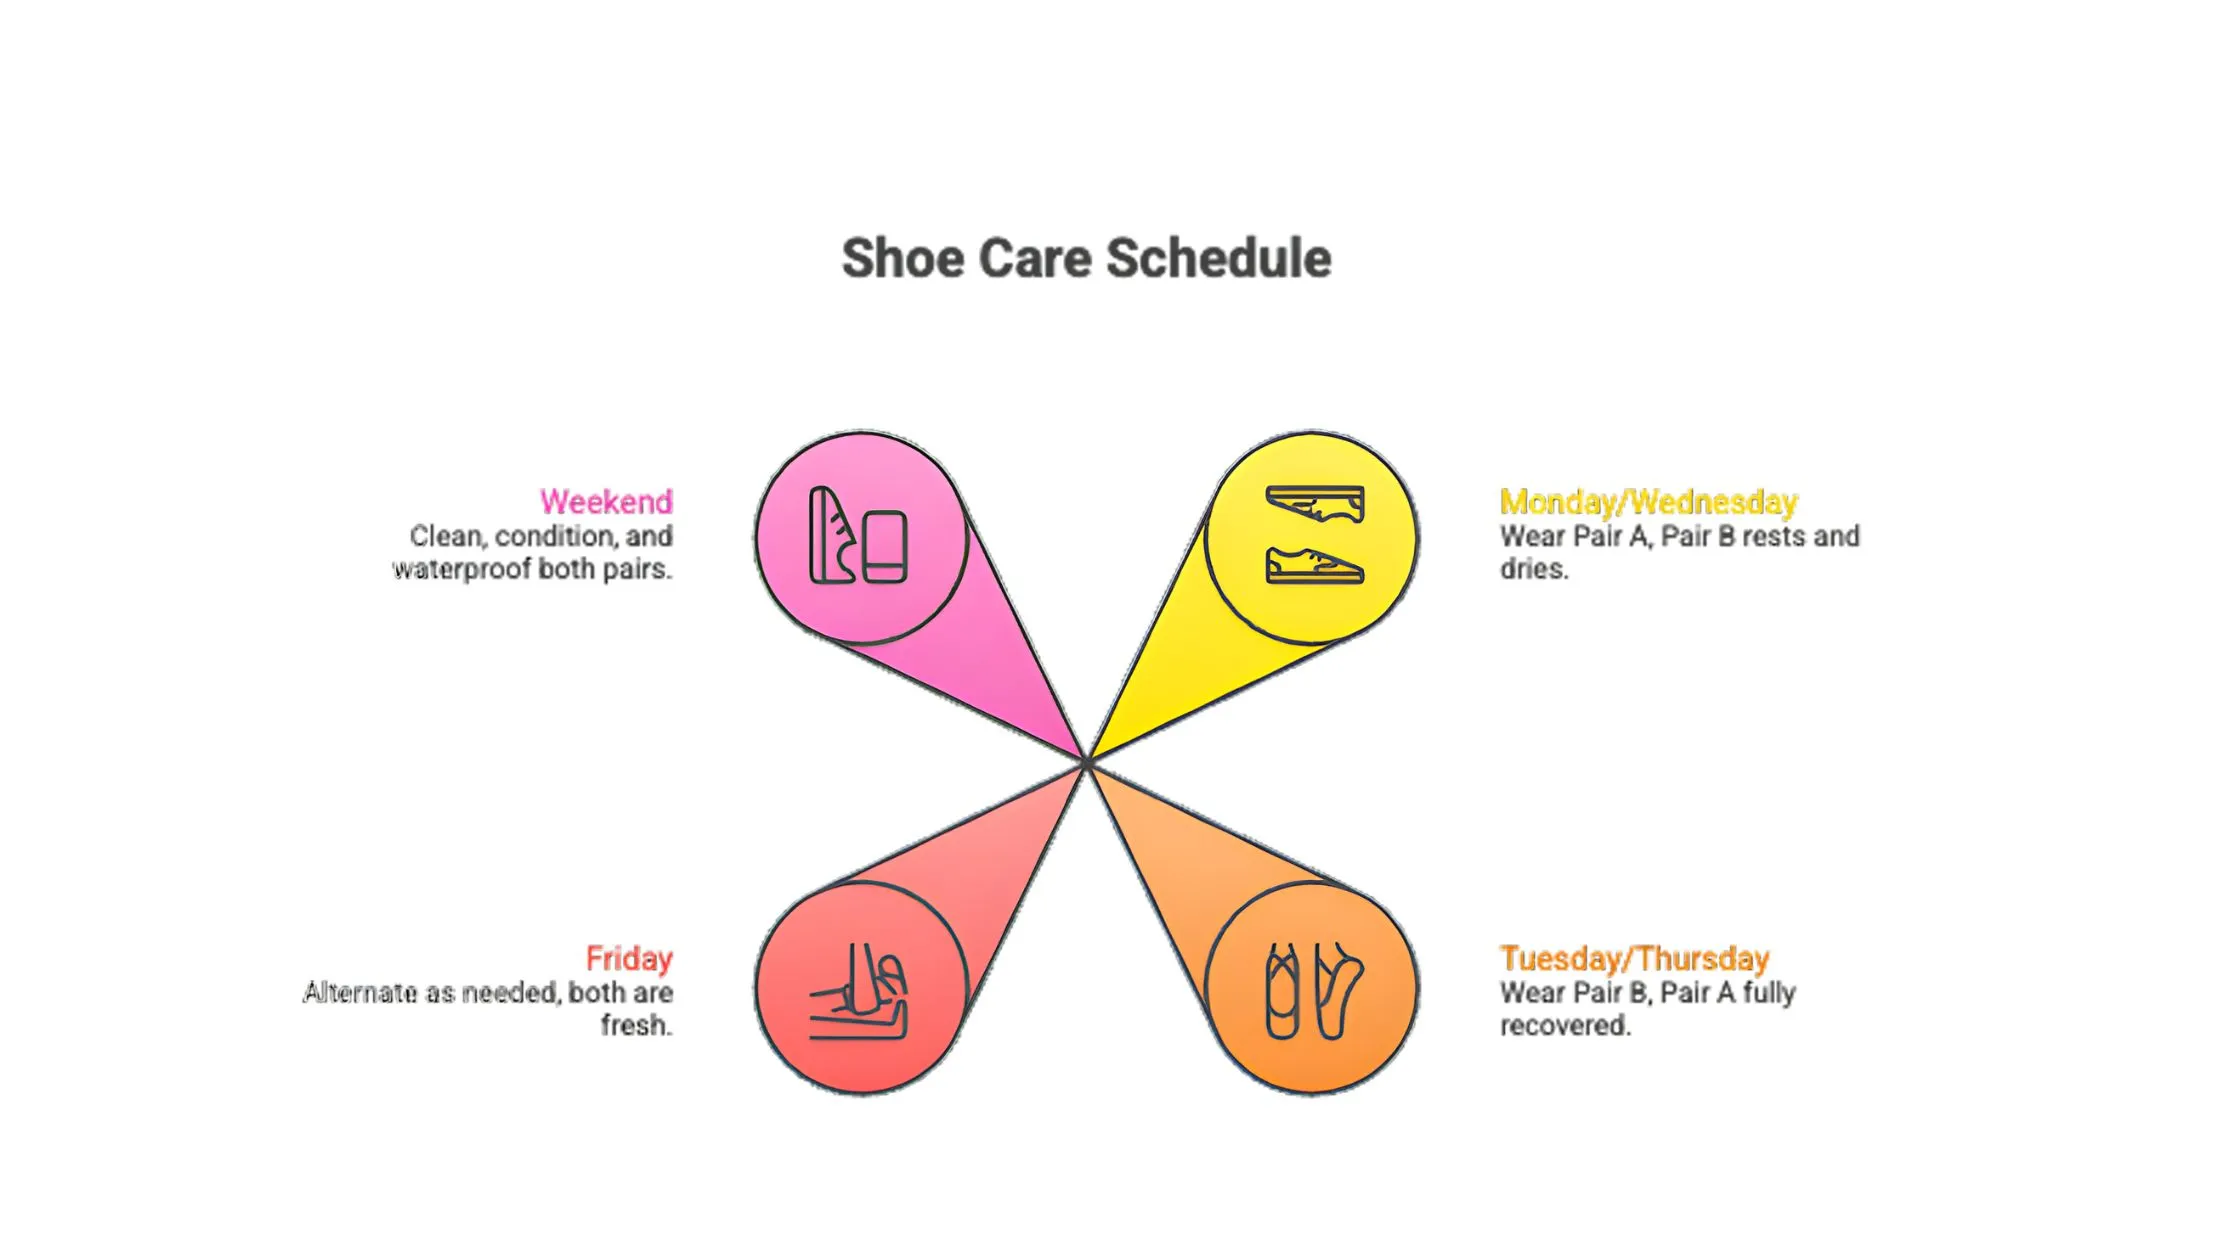
Tip 5: Rotate Between Two Pairs
This is one of the most effective and underused tips in industrial footwear care. Wearing the same pair every single day gives the materials no time to recover. Sweat-soaked cushioning stays compressed. Wet leather never fully dries. The cumulative stress compounds every shift.
The math works in your favor: Two pairs of $180 safety shoes used in rotation will outlast three or four pairs of the same shoes worn one at a time. Each pair gets a full 24-to-48-hour recovery window between shifts. The cushioning bounces back. The leather dries. The adhesive re-hardens.
Simple rotation schedule:
Tip 6: Always Use a Shoe Horn (Good Practice)
This one sounds minor. It is not. The heel counter — the stiff structure at the back of your safety shoe — is one of the first things to break down with careless use. When workers jam their feet into a closed shoe, they collapse the heel counter. Once it crushes, the shoe loses its structural support and no longer holds the foot correctly.
The fix: A shoe horn costs almost nothing. Loosen your laces fully before putting the shoe on. Use the shoe horn to guide your heel in cleanly. This one habit alone extends the life of the heel counter and keeps the shoe fitting correctly for far longer.
The same applies to taking shoes off. Use your hands — do not kick one shoe off with the toe of the other. That habit destroys heels and pulls stitching away from the upper.
Tip 7: Store Them in the Right Place (Important)
Where you store your safety shoes when you are not wearing them matters more than most workers realize. Extreme heat, extreme cold, and high humidity all degrade shoe materials. PU soles crack in high heat. Adhesives weaken in cold. Mold grows on wet leather left in sealed bags or unventilated lockers.
Storage guide:
| Location | Rating | Reason |
|---|---|---|
| Cool, dry, ventilated shelf | ✅ Best | Air circulates, no moisture buildup, stable temperature |
| Shoe rack with shoe trees | ✅ Great | Holds shape and absorbs residual moisture |
| Original shoe box in a dry room | ✅ Good | Protects from dust, acceptable airflow |
| Cold, damp shed or garage | ❌ Avoid | Humidity degrades PU soles and promotes mold |
| Near a radiator or heater | ❌ Never | Cracks leather and weakens adhesive bonds |
| Sealed plastic bag while wet | ❌ Never | Traps moisture, causes mold, destroys lining and foam |
Cedar shoe trees are ideal — they absorb moisture and neutralize odor. Crumpled newspaper works perfectly well as a free alternative.
Tip 8: Replace Insoles and Laces on Schedule (Good Practice)
Insoles take an enormous beating. They absorb sweat, compress under body weight, and break down long before the outer shoe does. A flat, compressed insole does not just feel uncomfortable — it stops absorbing shock the way it should. That increases joint and back fatigue over time and can contribute to musculoskeletal problems.
Replace insoles every three to six months, or whenever they stop bouncing back after you remove them from the shoe. Aftermarket insoles with better cushioning and arch support often outperform the stock insoles that come with most safety shoes.
Laces need attention too. Frayed or worn laces do not hold the shoe properly on your foot. A loose fit leads to more internal movement, which accelerates wear on the heel, toe box, and lining. Replace laces the moment they start to look thin or frayed — they cost almost nothing.
Bonus habit: Remove insoles after every shift to let the inside of the shoe air out. This alone dramatically reduces odor and slows bacteria-driven breakdown in the shoe lining.
Tip 9: Use the Right Safety Shoe for the Job (Critical)
This is the most overlooked cause of premature shoe wear in industrial settings. Using a shoe rated for light warehouse work on a heavy construction site wears it out in weeks. Every safety shoe is built and tested for specific hazard conditions. Using it outside those conditions puts extreme stress on materials that were never designed for that exposure.
Match the shoe to the environment:
- Construction and demolition — S3 rated shoes with penetration-resistant midsole and ankle support
- Chemical environments — shoes with chemical-resistant outsoles and uppers rated for that specific chemical class
- Electrical work — ESD (electrostatic dissipative) or electrically insulated shoes based on your specific exposure
- Wet environments — waterproof boots with anti-slip outsoles rated for that surface type
- Metal stamping or forging — metatarsal guards, not just steel toe caps
A shoe used for the exact hazard it was designed for performs better and lasts longer than one pressed into service outside its design spec. Check the safety rating label on the tongue of your shoe against your site’s PPE requirements at least once a year.
Tip 10: Inspect Your Soles Every Week (Critical)
The sole is the most critical safety component on your shoe. It provides slip resistance, shock absorption, puncture protection, and in some shoes, electrical insulation. Once it wears beyond a safe level, the shoe no longer meets its PPE rating — regardless of how good everything else looks.
What to look for every week:
- Tread depth — worn tread means reduced grip. If you can barely see the lugs, the sole needs attention
- Uneven wear — heavy wear on one side means your gait is off, and the sole will fail faster on the worn side
- Sole separation — any gap between the upper and the sole means the adhesive bond has started to fail
- Cracks in the sole — especially on PU soles, surface cracks signal the start of hydrolysis breakdown
- Wear indicators — some safety shoe brands build wear-indicator marks into the sole. When those disappear, you have hit the replacement threshold
A cobbler can re-sole many safety shoes at a fraction of the replacement cost, provided the upper and protective components are still in good condition. This is worth doing for high-quality shoes — it essentially resets the sole’s lifespan while keeping a well-broken-in upper.
Tip 11: Watch Out for PU Sole Aging (Hydrolysis) (Important)
This is the one tip that most safety footwear guides skip entirely — and it causes workers to trust shoes they should have replaced months ago. Polyurethane (PU) soles are the most popular in industrial footwear because they are lightweight, shock-absorbing, and flexible. But PU has a critical weakness: it ages from the inside out.
What is hydrolysis? PU undergoes a chemical breakdown called hydrolysis when moisture in the air reacts with the polymer chains in the sole. The PU slowly crumbles and cracks from the inside — even on a shoe that is just sitting in storage. The process accelerates in humid environments and at high temperatures.
Key rule: If your safety shoes have PU soles, check the manufacturing date stamped under the tongue. Start wearing them within 6 months of that date. Do not store PU-soled shoes for years expecting them to stay good — they will not. A PU sole that crumbles mid-shift provides zero protection.
Signs hydrolysis has started:
- The sole feels unusually stiff
- Visible surface cracking that looks almost like dry concrete
- Small chunks of sole material breaking off when you flex the shoe
If you see any of those signs, replace the shoes immediately — regardless of how the upper looks.
Tip 12: Know When to Replace — Not Just Repair (Critical)
All the care in the world cannot make a worn-out safety shoe safe again. There comes a point where maintenance ends and replacement begins. The most dangerous thing in industrial footwear is a worker who keeps wearing compromised PPE because the shoes still “look okay.”
Replace your safety shoes immediately when you see:
- Deep cracks in the upper that go through the material — moisture, chemicals, and debris now reach your foot
- Toe cap visible through the upper — the protective layer is compromised
- Sole worn smooth across a large area — slip resistance is gone
- Midsole collapsed or noticeably asymmetric — shock absorption is no longer effective
- Sole separating from the upper at any point — structural integrity is gone
- The shoe no longer supports your arch or ankle — internal cushioning has failed
- Manufacturing date over 2 years ago for PU-soled shoes — hydrolysis risk is high
Industry benchmark: With heavy daily industrial use, replace every 6 to 12 months. With proper care and rotation, high-quality shoes can last 18 to 24 months in medium-duty environments. For light office or warehouse use, up to 2 years is reasonable. But always judge by condition, not just time.
Your Complete Maintenance Schedule at a Glance
| Frequency | Task |
|---|---|
| After every shift | Brush off dirt. Wipe soles clean. Remove insoles to air out. |
| Every 24–48 hours | Let each pair fully dry before next use. Use newspaper stuffing. |
| Weekly | Deep clean uppers and soles. Inspect for damage and wear. |
| Monthly | Apply leather conditioner. Re-apply waterproofing spray or wax. |
| Every 3–6 months | Replace insoles. Check laces. Full inspection against PPE standards. |
Key Takeaways
- Clean your shoes after every shift — dirt and moisture are the primary causes of early material failure
- Always air-dry in a ventilated space — never use heat sources of any kind
- Condition leather every 2–4 weeks — dry leather cracks and cracks cannot be reversed
- Waterproof monthly — especially in wet or outdoor environments
- Rotate two pairs — this single habit can double the lifespan of both pairs
- Use the right shoe for the job — using shoes beyond their design spec destroys them fast
- Replace insoles every 3–6 months — cushioning failure is invisible but real
- Know when to replace, not just repair — worn-out PPE is a safety hazard, not a cost-saving measure
This article is for general guidance only. Always follow your employer’s site-specific PPE requirements and relevant safety standards (ISO 20345, ASTM F2413, EN ISO 20347).
For quality safety shoes and certified PPE in Dubai, visit Safe Gear — a trusted personal protective equipment supplier serving industrial workers and businesses across the UAE.
Frequently Asked Questions
How long should safety shoes last?
Quality safety shoes last 6 to 18 months with daily industrial use. With proper care — daily cleaning, regular conditioning, rotation, and correct storage — you can push that to 2 years in lighter-duty environments. The key variable is maintenance, not price.
How often should I clean my safety shoes?
Clean your safety shoes after every shift if you work in muddy, oily, or chemically exposed conditions. For cleaner environments, a thorough clean every week is the minimum. The longer dirt and grime sits on the material, the more damage it does.
Can I put safety shoes in a washing machine?
No — never. Washing machines damage the adhesive layers between the sole and upper, can crack or distort protective toe caps, and break down PU midsoles. Always hand-wash with mild soap, cool water, and a soft brush.
What is the best way to dry safety shoes quickly?
Remove the insoles and stuff the shoes with dry newspaper. Place them in a cool, well-ventilated spot for at least 24 hours. A low-heat electric boot dryer is the safest fast option. Radiators, hair dryers, and direct sunlight are not — they crack leather and weaken adhesives.
Does rotating safety shoes really make a difference?
Yes — significantly. Rotating between two pairs allows each pair to fully dry and recover between uses. This reduces material fatigue, prevents moisture-driven breakdown, and can nearly double the combined lifespan of both pairs.
When should I replace safety shoes even if they look fine?
Safety shoes can fail their protective function before they show obvious external damage. If the midsole has collapsed, the insole no longer bounces back, the tread is worn smooth, or the PU sole is older than 18 to 24 months, replace them regardless of how the upper looks. Protection is the priority, not appearance.